On the concrete base, first two layers of bricks.
Joe explaining about the bricks with holes that let the ember pile breath;
through the firing.
Below the ash-pit for primary air.
View from the front, to see the way the bricks with holes were placed.
Checking the height of the gas burner, with the gas port;
which is also the ash-pit opening.
The damper slot.
The centre wall comes into the chimney base.
For manipulating heat in the chamber.
Joes, lego model!
The primary air port, ash-pit viz-a-viz gas port, on the back of the kiln.
The metal door position, with respect to brick height.
The fire bars.
The kiln floor level. Lot of brick cutting happening.
Bricked up one half of flue chamber.
Fire bars in place.
The two exit flues.
View from front top.
View from front.
View of the front half from top.
View of back half from top.
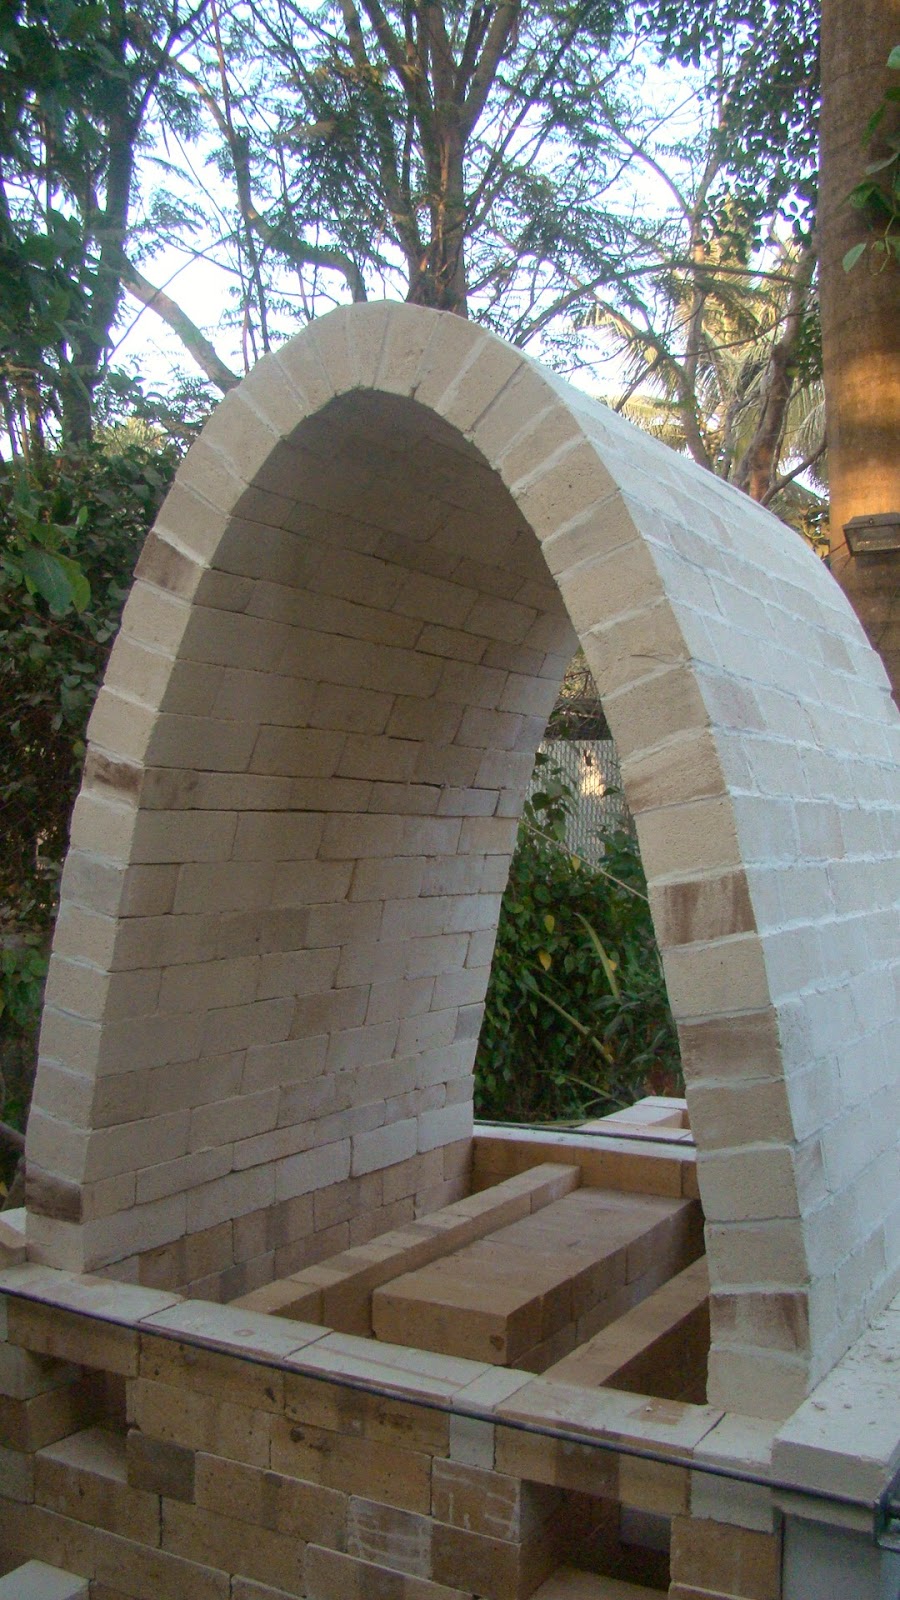
The catenary arch frame in place.
Detail of the metal door in place.
Wedge brick or straight brick.. figuring out and placing bricks;
for the arched wall.
Anjali, placing the key brick.
One soul who kept cutting and grinding HFK bricks,
for the arch wall. He was completely white with the brick dust.
I just missed by a few seconds the HFK man.
See the dust still to be washed away!!
Frame pulled out.
Back wall being built, and the loading started.
Crew - Sandeep and Shayonti, while building the chimney and
the back wall of the kiln.
Back half loaded.
I missed a shot of Joe, standing in the first half;
which made loading the back of the kiln so simple.
Loading the front.
Back wall finished. Chimney building continues.
Kiln loading finished.
Ready to set to fire!
With eleven participants in two days.


No comments:
Post a Comment